
 - 6623.png)
A 3D model can have a great shape and still look unfinished. Materials help bring it to life: they determine its color, shine, texture, and how it reacts to light.
In Blender, you'll make most materials with Principled BSDF, a flexible shader that combines common surface properties in one place. You can find it in the Shader Editor or adjust it in the Material Properties tab.
This guide covers four useful materials—wood, metal, glass, and fabric—and explains the settings that make each one feel convincing.
Start with the Principled BSDF
Select your object, open Material Properties, and click New. Blender creates a material with a Principled BSDF shader connected to the Material Output.
Tip: Change one setting at a time and preview under good lighting. Materials behave differently across varying light conditions.
1. Wood Material
Wood relies on visible grain and subtle tonal variation to feel genuine.
Method A: Image Texture
- Add an Image Texture node in the Shader Editor.
- Connect its Color output to Principled BSDF Base Color.
- Set Roughness between 0.35 and 0.65.
- Adjust UV mapping if textures stretch.
Method B: Procedural Grain
- Plug Noise Texture into Wave Texture Vector input.
- Route Wave Texture Color through a Color Ramp with wood tones.
- Connect Color Ramp to Base Color, and Fac to Bump for subtle grain.
2. Metal Material
Metal is entirely defined by reflection. It requires surrounding scene elements or an HDRI to bounce light.
- Set Metallic to 1.0.
- Set Roughness low (0.1–0.25) for clean polish, or higher for brushed/matte finish.
- Use Base Color for metal tint (pale yellow for gold, cool grey for steel, warm bronze for copper).
- If metal looks pitch-black, verify your lighting environment before altering shader values.
3. Glass Material
Glass requires light refraction, reflection, and appropriate mesh wall thickness.
- Set Transmission to 1.0.
- Keep Roughness low (0.0–0.1) for clear glass; increase for frosted effects.
- Always give the mesh actual thickness (e.g. Solidify Modifier) rather than an infinitely thin plane.
- Keep Base Color very light/desaturated to avoid an artificial plastic look.
4. Fabric Material
Fabric surfaces are diffuse and absorb light across soft microscopic weaves.
- Set Metallic to 0.
- Raise Roughness high (0.65–0.90).
- Add high-scale Noise Texture into a Bump node at minimal strength for micro-weave detail.
- Ensure cloth model folds and geometry look natural alongside shading.
Adding Detail with Bump & Proper Lighting
Connect your texture's Fac output to the Bump node's Height, then connect the Bump node's Normal to the Principled BSDF Normal input. Keep Bump Strength subtle—heavy bump makes items appear chiseled or rocky instead of subtly textured.
Always test materials under multiple lights. A multi-angle light setup or HDR environment map ensures highlights, shadows, and reflections are clearly assessed before final rendering.
Common Beginner Mistakes to Avoid
- Excessive glossiness: Overly shiny surfaces make plastic, wood, and metal look identical.
- Exaggerated bump strength: Heavy bump breaks realistic scale.
- Evaluating metal in a void: Metallic shaders require surrounding objects/lights to reflect.
- Zero thickness on glass: Glassware needs inner and outer geometry faces to refract light correctly.
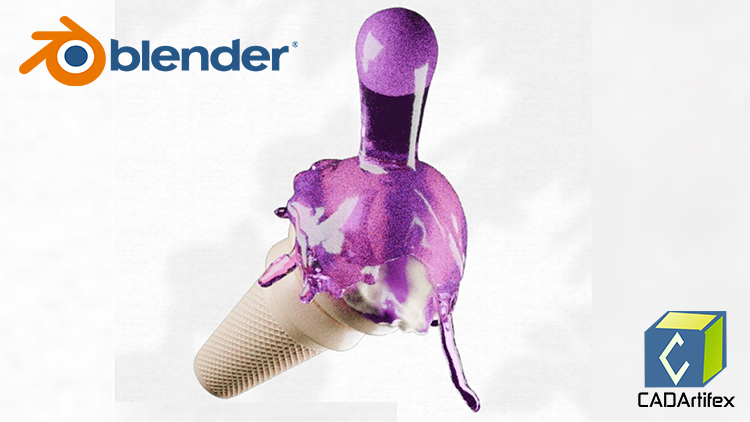
Blender for Beginners: 3D Modeling, Rendering & Animation
Ready to take your 3D workflow further? Learn end-to-end 3D modeling, node shading, lighting setups, and keyframe animation with step-by-step practical projects.
 - 6674-360x220.png)
 - 5704-360x220.jpg)
