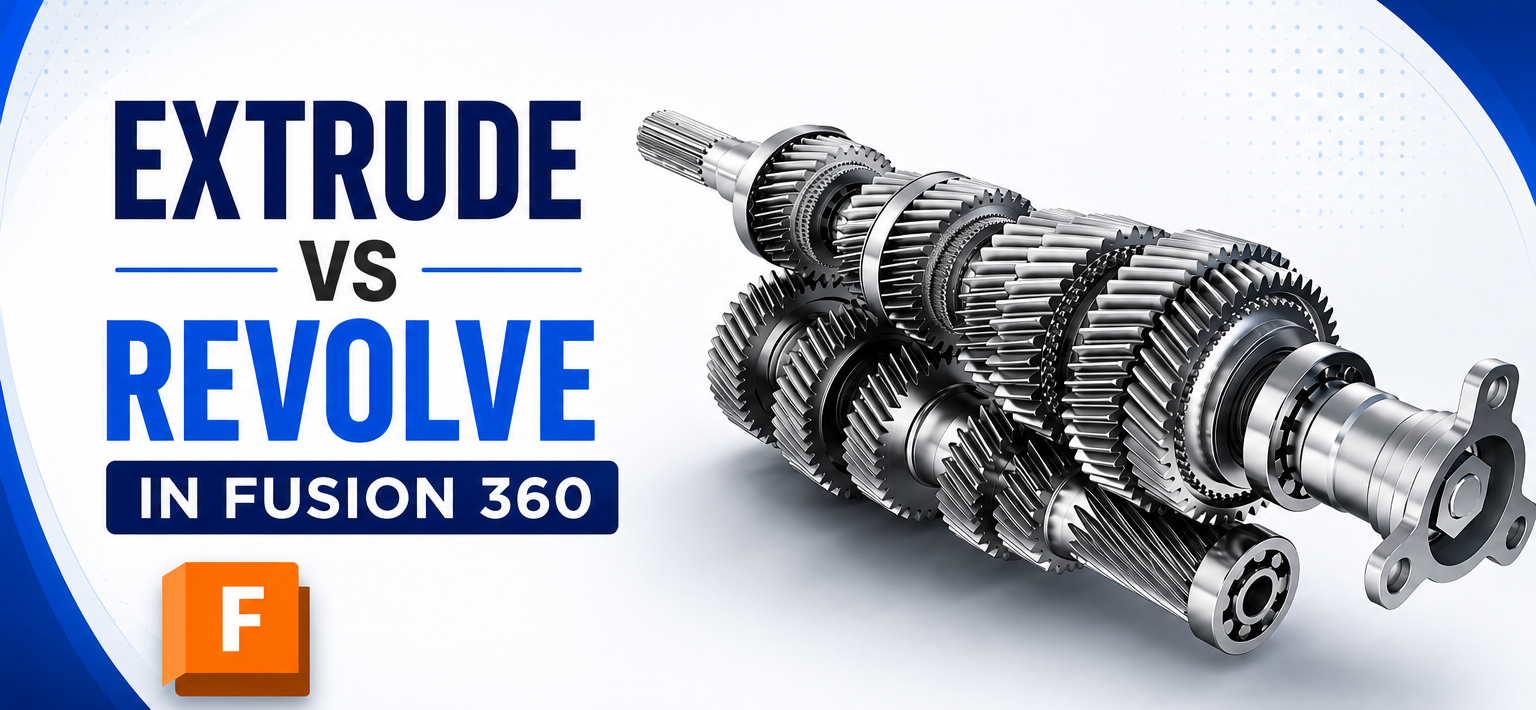
If you're new to Fusion 360, you've probably come across two of the most commonly used modeling commands: Extrude and Revolve. While both convert 2D sketches into 3D models, they are designed for very different purposes.
Choosing the right feature not only speeds up your workflow but also results in cleaner, more editable models. In this guide, we'll compare Extrude vs Revolve, explain when to use each, and share practical examples to help you make the right choice every time. Autodesk recommends Extrude for extending sketch profiles linearly and Revolve for creating geometry by rotating a profile around an axis.
What is Extrude in Fusion 360?
The Extrude command creates a 3D solid by extending a 2D sketch in a straight direction. Think of it as pushing or pulling a sketch to give it thickness.
Best Uses
- Plates
- Brackets
- Blocks
- Boxes
- Mechanical Parts
- Base Features
Example
Imagine drawing a rectangle. Using Extrude converts it into a rectangular block. You can also:
- Add material
- Remove material (Cut)
- Create a new body
- Create a new component
- Apply taper angles
- Use Thin Extrude for sheet-like features
What is Revolve in Fusion 360?
The Revolve command creates a 3D model by rotating a sketch profile around a selected axis. Instead of pushing a sketch in one direction, it spins the profile to generate a symmetrical shape.
Best Uses
- Shafts
- Bushings
- Bearings
- Bottles
- Pulleys
- Wheels
- Cups
- Cylindrical Components
Example
Draw half of a bottle profile and revolve it 360° around the centerline. Instantly, you get the complete bottle. This method is much faster than creating the same geometry using multiple extrusions.
Extrude vs Revolve: Key Differences
| Feature | Extrude | Revolve |
|---|---|---|
| Motion | Straight Line | Rotates Around an Axis |
| Sketch Requirement | Closed Profile | Closed Profile + Axis |
| Best For | Prismatic Shapes | Circular & Symmetrical Parts |
| Complexity | Very Easy | Easy |
| Typical Parts | Plates, Brackets, Blocks | Shafts, Bearings, Wheels, Bottles |
When Should You Use Extrude?
Use Extrude when your design has flat or prismatic geometry. Examples include:
- Mounting Plate
- Machine Base
- L-Bracket
- Housing
- Enclosure
- Rectangular Block
Extrude is usually the first feature beginners learn because most mechanical components start from simple sketches.
When Should You Use Revolve?
Choose Revolve whenever your model is symmetrical around a center axis. Examples include:
- Pulley
- Roller
- Pipe Adapter
- Knob
- Gear Blank
- Turning Components
- Bearing Sleeve
Instead of sketching the entire part, simply sketch half the cross-section and revolve it. This approach creates a cleaner feature history and is generally more efficient.
Which Feature is Better?
Neither feature is better than the other. The right choice depends entirely on your design.
Choose Extrude if:
- Your sketch is flat
- Geometry extends in one direction
- Part has rectangular or prismatic features
Choose Revolve if:
- Part is circular
- Design is rotationally symmetric
- You're modeling shafts, bottles, wheels, or pulleys
Common Beginner Mistakes
- Using Extrude for Circular Parts: Many beginners create cylinders using Extrude. While it works, if the part contains multiple rotational features, Revolve often produces a cleaner and easier-to-edit model.
- Using Revolve for Non-Symmetrical Parts: If the geometry isn't rotationally symmetric, Revolve is usually the wrong choice. Use Extrude instead.
- Ignoring the Centerline: Revolve requires an axis. Always create a construction centerline before using the command.
Real-World Examples
Use Extrude For: Laptop Stand, Machine Base Plate, Clamp, Mounting Bracket, Cover Plate.
Use Revolve For: Wheel Hub, Pulley, Bearing, Bottle, Shaft, Pipe Connector.
Pro Tips
- Keep sketches fully constrained before creating 3D features.
- Use Extrude for linear geometry and Revolve for rotational geometry.
- Build simple base features first, then add fillets, chamfers, holes, and patterns.
- Name important features in the timeline to make future edits easier.
Final Thoughts
Extrude and Revolve are among the most important modeling tools in Fusion 360. Mastering when to use each will help you create cleaner, more efficient, and easier-to-edit CAD models.
As a simple rule:
Extrude = Straight
Revolve = Circular
Once you understand this distinction, you'll spend less time remodeling parts and more time designing efficiently.
Master Fusion 360 with CADArtifex
Want to learn Fusion 360 from scratch and build real-world mechanical designs with structured, industry-oriented workflows?
Whether you're a student, mechanical engineer, or product designer, this course provides a seamless learning path from beginner to advanced.
Join the All-in-One Course Now
 - 452-360x220.png)